White Label operators who are using their own domain name on the splash pages need their own Facebook app so they can collect statistics for their users only (and it’s also a requirement by Facebook that the app has to be assigned to a domain name so the global hotspotsystem app cannot be used on any other domain names.
Here is how to create your own Facebook app.
- Go to Facebook Developer Site and log in with your Facebook account.
- Click on My Apps > Add a New App.
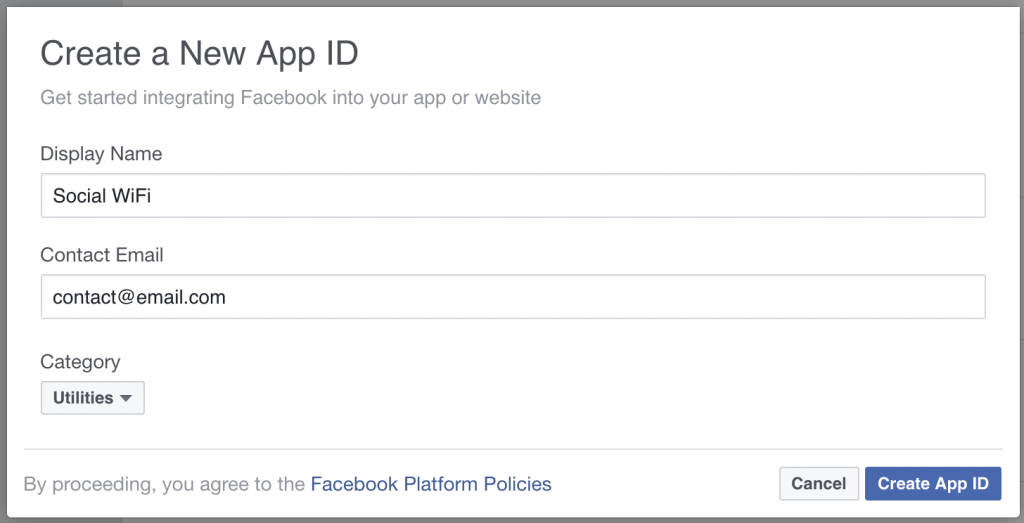
- Fill out “Display Name” (this will be the name of your app) and “Contact Email“. Select the “Utilities” Category and click on “Create App ID“.
- Select “Settings” menu from the left. Click on “+ Add Platform” and select “Website“. Enter your company website or any web page with your business content here. Also it must be derived from your white label hostname. If your white label name is “wifi.yourdomain.com”, the Website URL must be a different host with the same domain, like www.yourdomain.com.It is important that the content must reflect your business (it cannot be a lame template which is not related to your business).Click on “Save Changes“.
- Go back to “Settings” and enter your white label domain name under “App Domains”. For example if you are planning to use “wifi.yourdomain.com” as the customer splash page, you must enter “yourdomain.com” in this field. Fill out your contact email address.
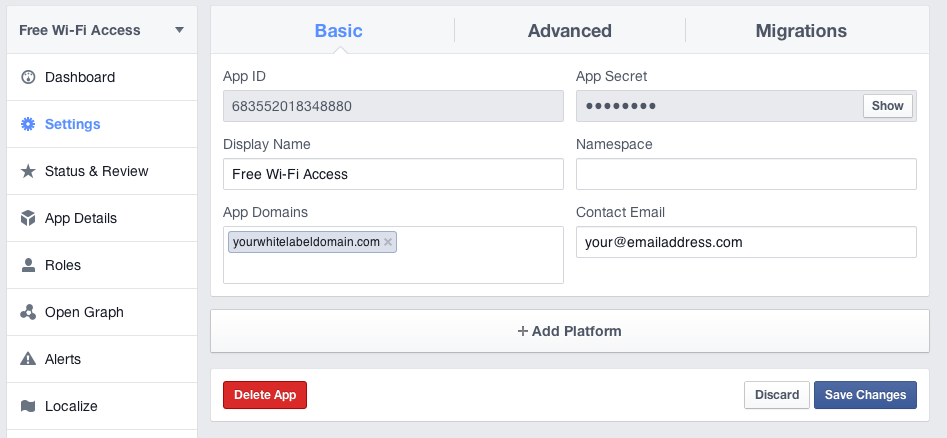 Click on “Save Changes“.
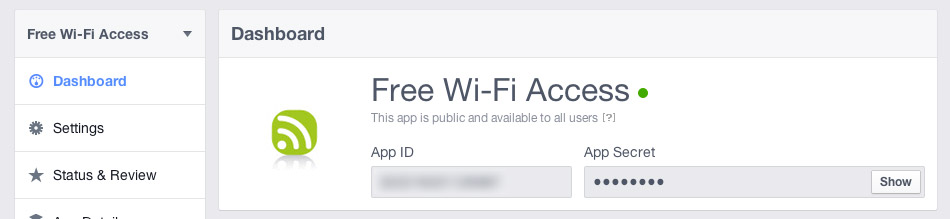
 - Go to “Dashboard” (top left) and click on “Show” on the right, next to the input field of the “App Secret”. Once the app secret is revealed, copy the App ID and App Secret into the Control Center, Tools > White Label Settings.
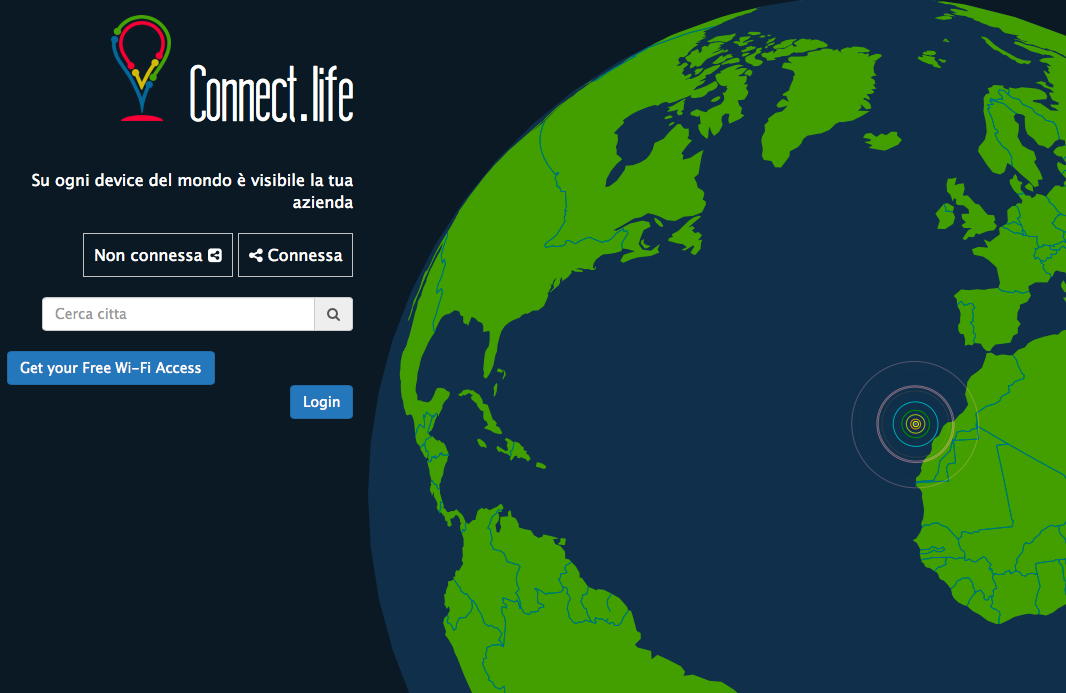
- Now you need to put a button or link to your page like “Get Your Free Wi-Fi Access” and this must be linked to
https://wifi.yourdomain.com/customer/facebook/en/review/redirect/login
(you need to replace “wifi.yourdomain.com” with your white label hostname)Please note that this is only needed for the review, then you can remove this from your website.An example (the content was already there, the owner just put the Get your Free Wi-Fi Access button there for the review):

- Verify the URLs by clicking to this new button or link you have created on your website. If you have entered it correctly, you should see a screen like this:
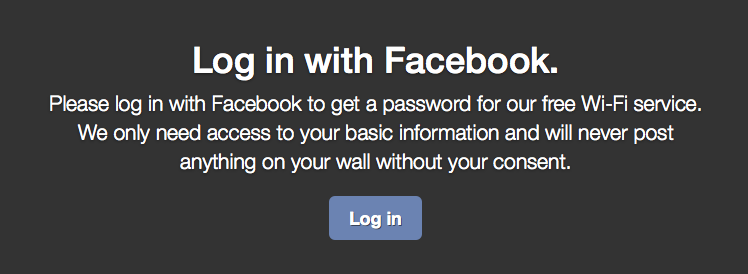 Click on the Log in and use the administrator of the App to log in and follow the instructions. This is required to simulate an API call, without this you won’t be able to send your app for review.
- Click on “App Details” on the left side. Fill out the following fields:
- Short Description: “Free internet access” or similar
- Publisher: Enter your company there
- Category: Select “Utilities”
- Tagline: Enter something similar: “Hello everyone, this is XXX!” – Replace XXX with your company name
- Long Description: “We provide you with free internet access through our wi-fi routers all around the world. In return we only ask you on occasion to share a post with your friends about you using our awesome service. We need to post to your wall to do so, that’s why we need your permission to write on on your timeline. Thank you for that, and enjoy using our service.” or similar
- Explanation of Permissions: “Selected permissions should enable the users of our app to Login with Facebook and share our place (checkin). ” or similar
- Under Contact Info:Privacy Policy URL: “https://wifi.yourdomainname.com/customer/info.php?operator=youroperatorusername&page=privacy&lang=en“, where you need to replace wifi.yourdomainname.com and youroperatorusername accordingly. You can also use your own privacy URL hosted on your white label server.
- User Support Email: Enter your email where you can accept messages from users of your app if they need support.
- Terms of Service URL: you need to have your own URL with terms and conditions. You can find generic terms of services on the web and use them for this purpose. If you don’t have a website where you could put this info, you can edit the terms we provide in the Control Center > Customize > Skins > Useragreement language files > Edit. Then you can review it here:https://wifi.yourdomainname.com/customer/info.php?page=useragreement&operator=youroperatorusername&location=XXwhere you need to replace wifi.yourdomainname.com and youroperatorusername and XX accordingly (XX is the location number, for example 1 is your first location, this is just needed to match the design of a social location you are using)You can submit this URL if you are happy with what you see and it reflects your company.
- User Support URL: “https://wifi.yourdomainname.com/customer/info.php?operator=youroperatorusername&page=csupport&lang=en“, where you need to replace wifi.yourdomainname.com and youroperatorusername accordingly. You can also use your own privacy URL hosted on your white label server.
- Under App Center Listed Platforms, be sure that everything is set to No.
- Upload your own App Icon (use your own high quality 1024×1024 icon, or use ours: download here). Be sure that it is met with App Center Guidelines.
- Upload a Cover Image. Be sure that it reflects your business and is met with App Center guidelines.
- Click on “Save Changes” on the bottom right.
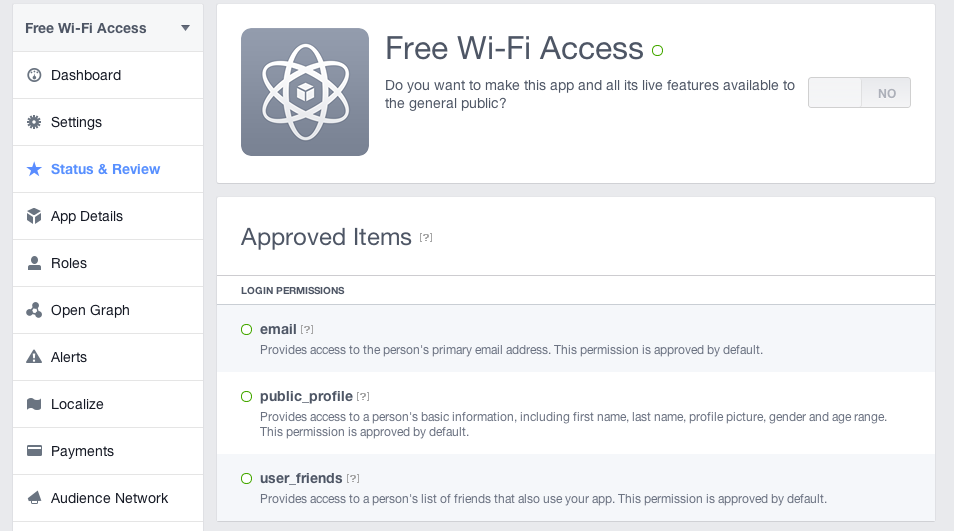
- Select “App Review” menu on the left. Push the big Yes/No button on the top right to put your app into LIVE state.
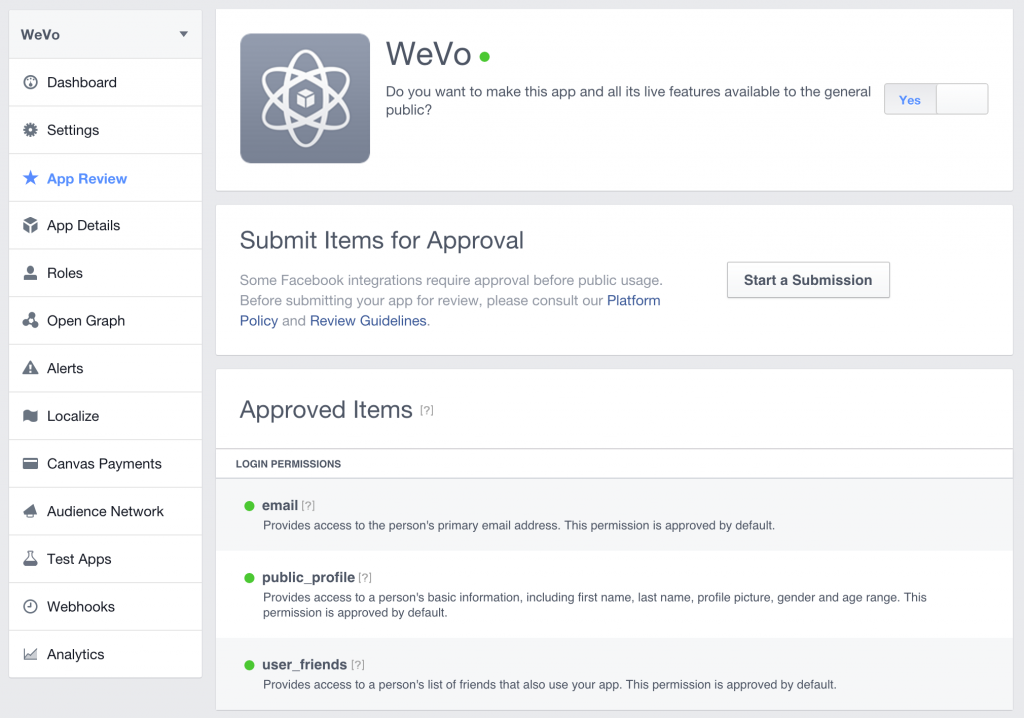
- Now you need to submit your app for approval. Without approval from Facebook, you cannot use the Checkin feature as your app will not be able to post on user’s walls. You can read more about this here:
- Facebook App Review Guidelines: https://developers.facebook.com/docs/apps/review/
- Facebook Login Review Process: https://developers.facebook.com/docs/apps/review/login
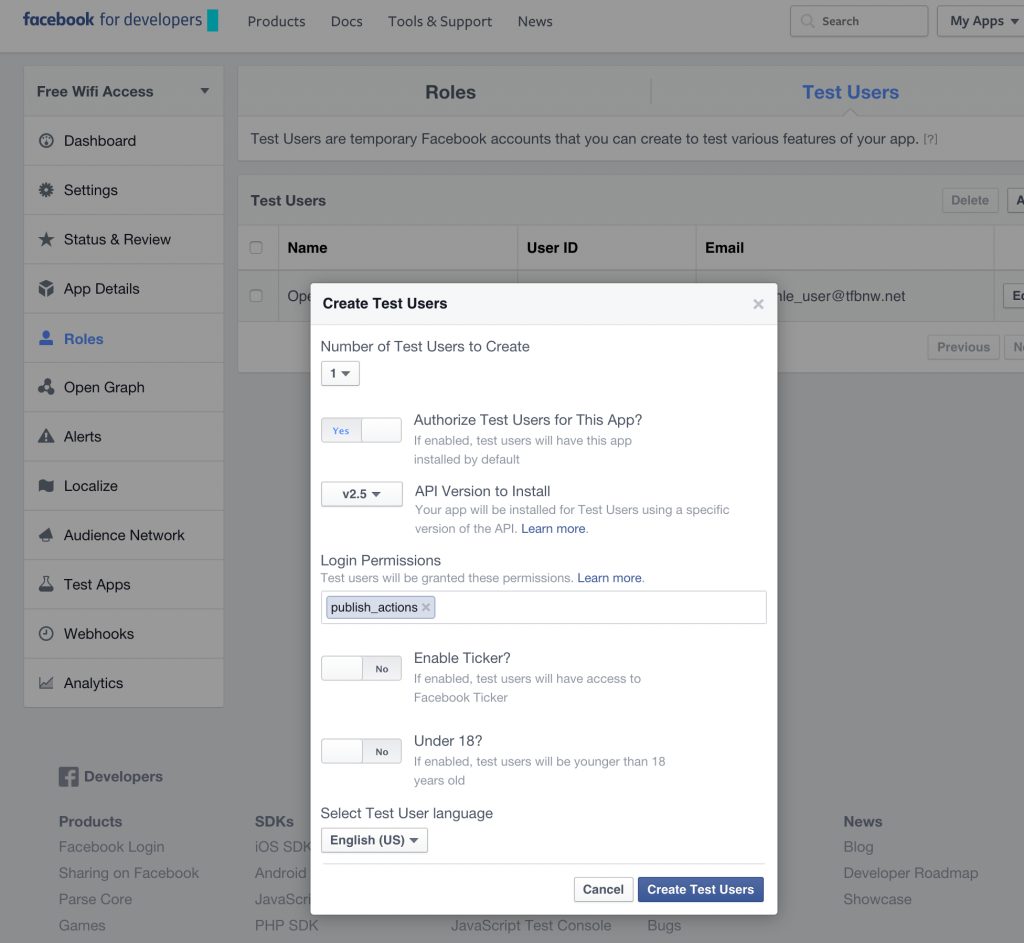
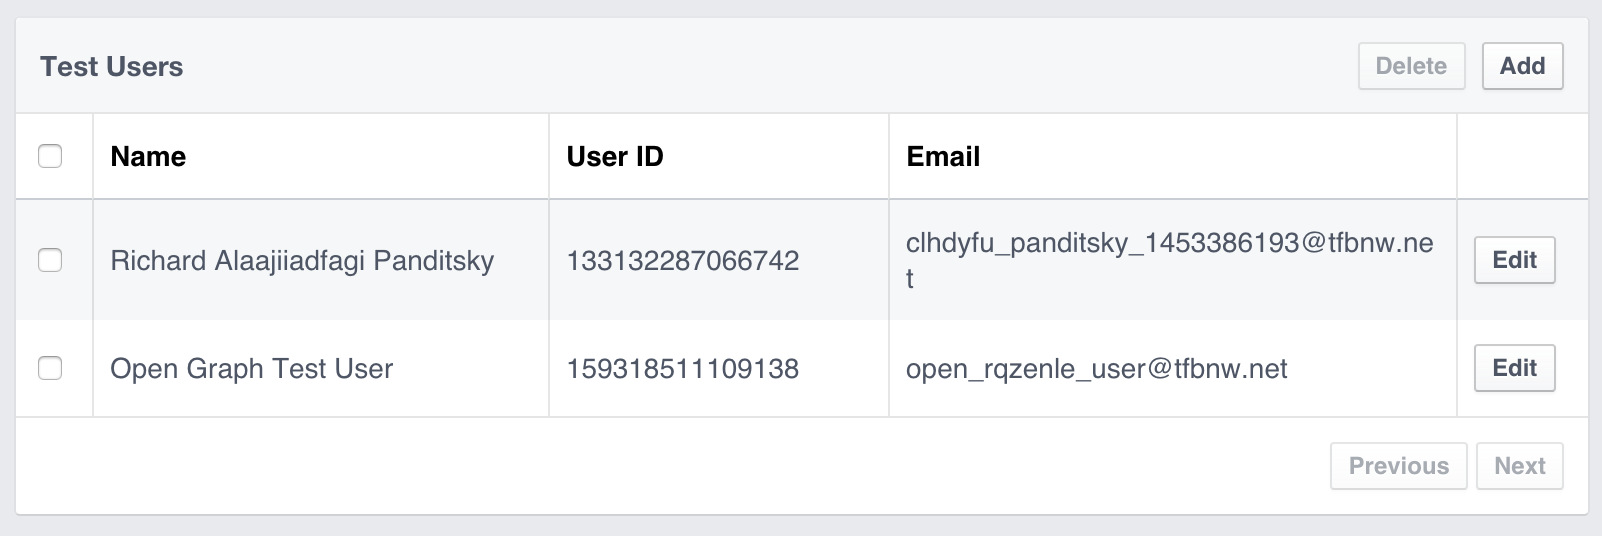
- When you are ready, first create a test user. Click on Roles on the left menu > Test Users on the top right > Add.Check Authorize Test Users, and add publish_actions in the Login Permissions field, then click Create Test Users.
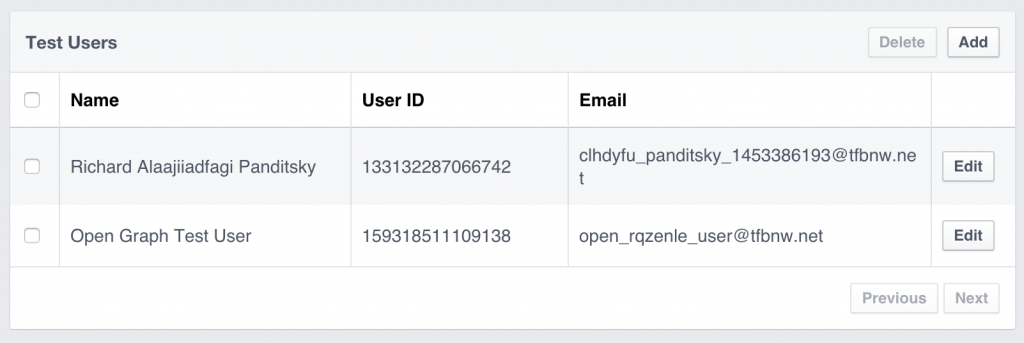
 Note the name of the newly created test user, this will be needed.
- You need to create a screecast video for the facebook app process. The video should show the following steps:- Your website with the “Get your Free Wi-Fi Access” button
– You need to click on the button and follow the process
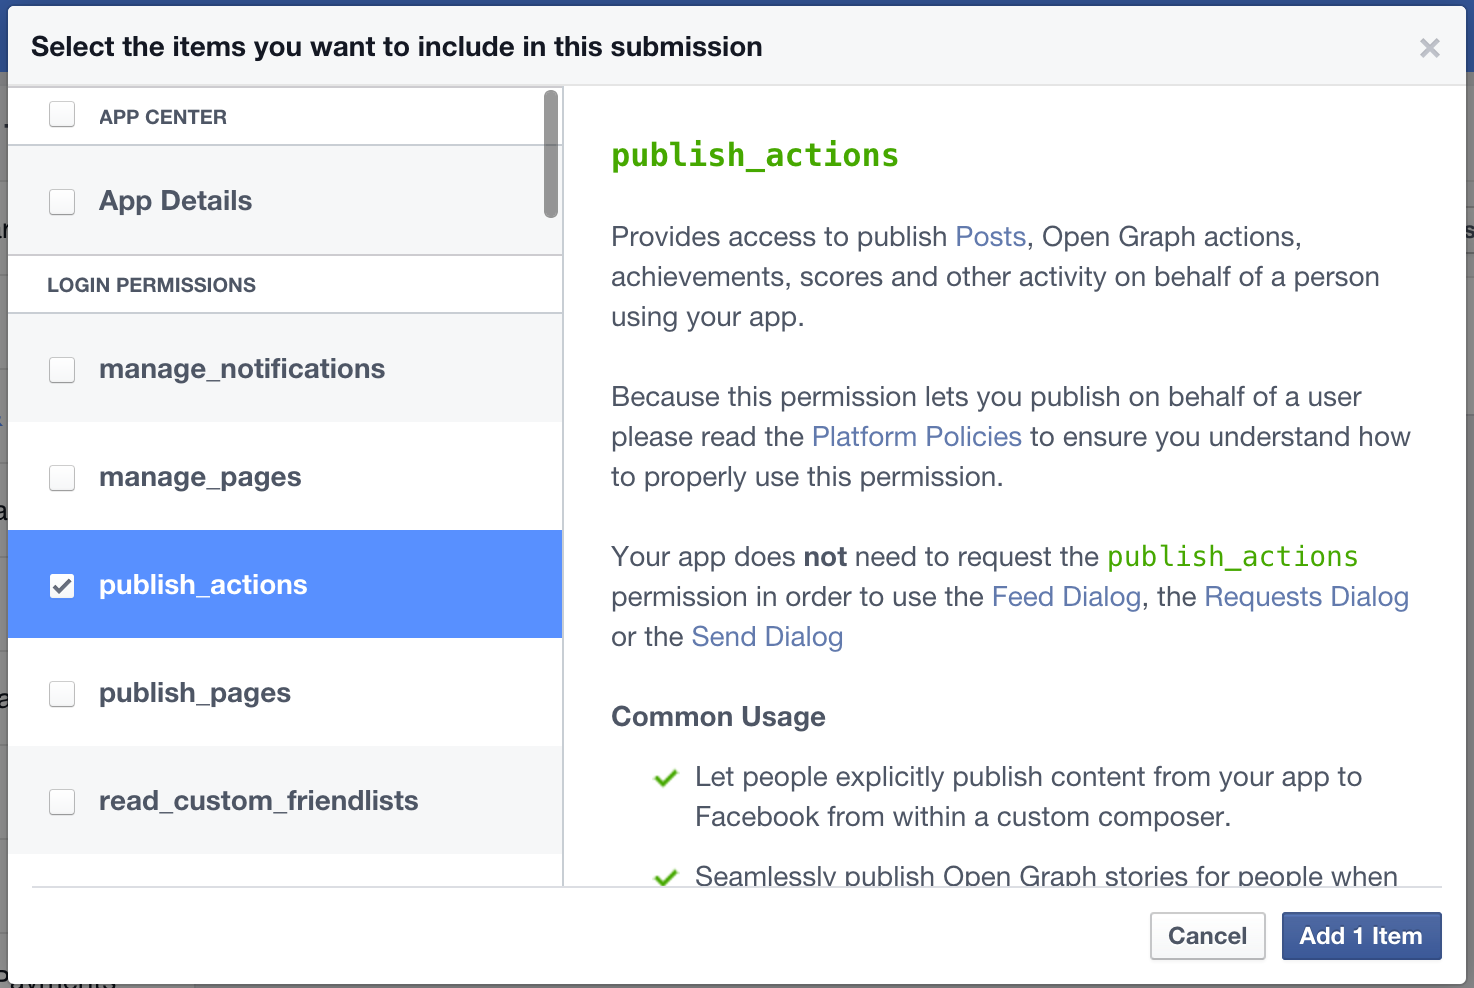
– After you see the wi-fi access code on screen, go to facebook.com with the same user you used in the previous process and show the timeline of the user where the Starbuck Checkin is shownHere is an example video you need to create: - Click on “Start a Submission” and select the “publish_actions” permission and click on “Add 1 Item”
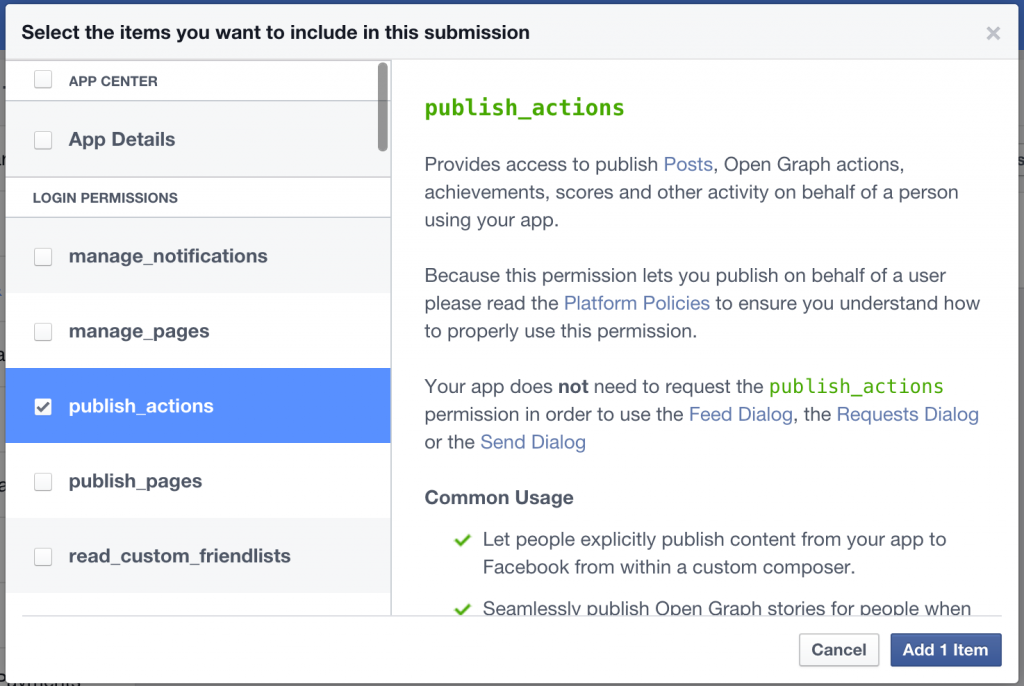
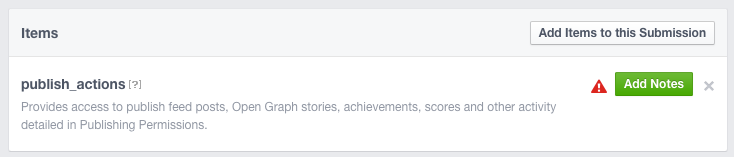
- Right to the “publish actions” item click on “Add Notes“.
- In the Notes dialog:- Confirm all questions, by checking them.
– Choose “Other” as an answer to the last question and write this there: “The users can share with their friends that they are using our awesome free wi-fi service.”- Set the “Web” platform to ON.- Under “Web“, type: “We are explaining the users what will happen, showing a sample post, and after clicking the “Checkin” button we are writing to their walls. We are posting to the “/user/feed” api endpoint with “place”, “link”, “description” and “picture” parameters to share a post about their current activity.
– Upload the video you have previously created in Step 13, below “Add a screencast“.Click on “Save“.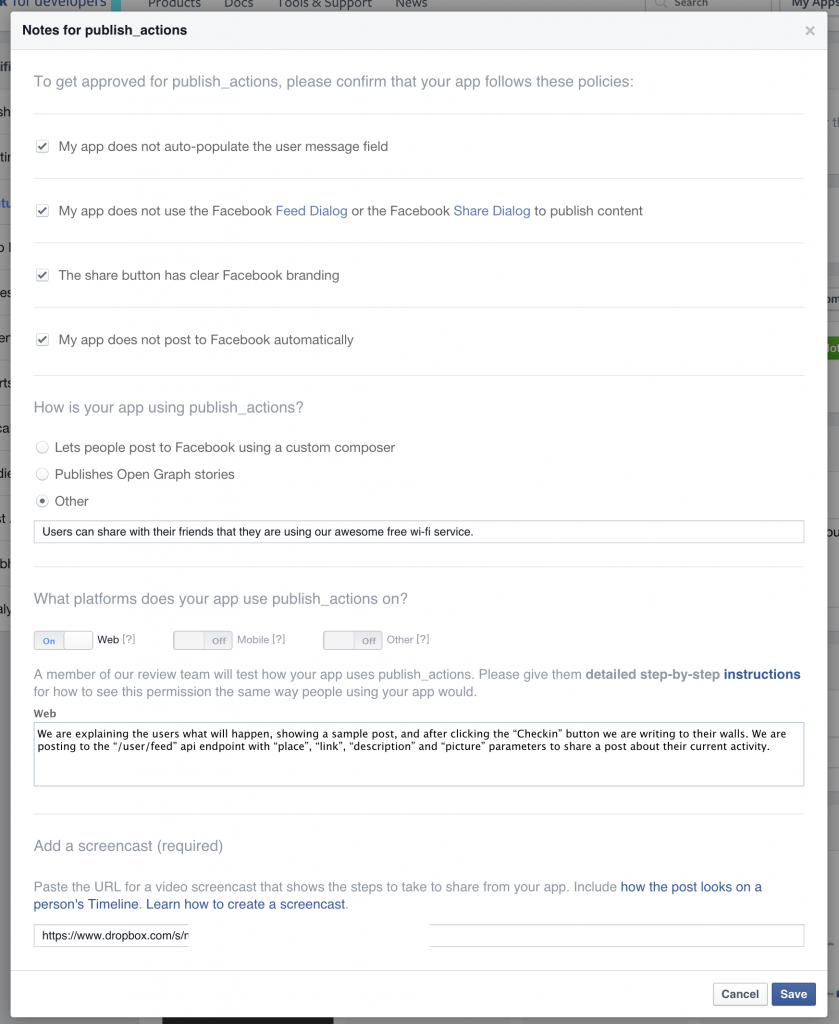
- Now you can click on Submit for Review, then you need to confirm. After you do this, Facebook will notify you once they have approved your app. After then you can use the Checkin function.


If the review comes back with negative results, please contact us so we could verify your app.
After you set up everything, your own app statistics will be available under “Insights”, here on Facebook Developers site.
Hello, do you have the new instructions for versions 2.8?
You can use the same instructions for 2.8.